You’ve downloaded The Crawl Tool Windows installer and it all sounds like getting an employee for free, so you’re keen to get going. You’re just an installation away and this guide shows you how. Run the installer.
This is Windows, and you downloaded the installer from the web. Depending on your configuration you may see this box pop up.
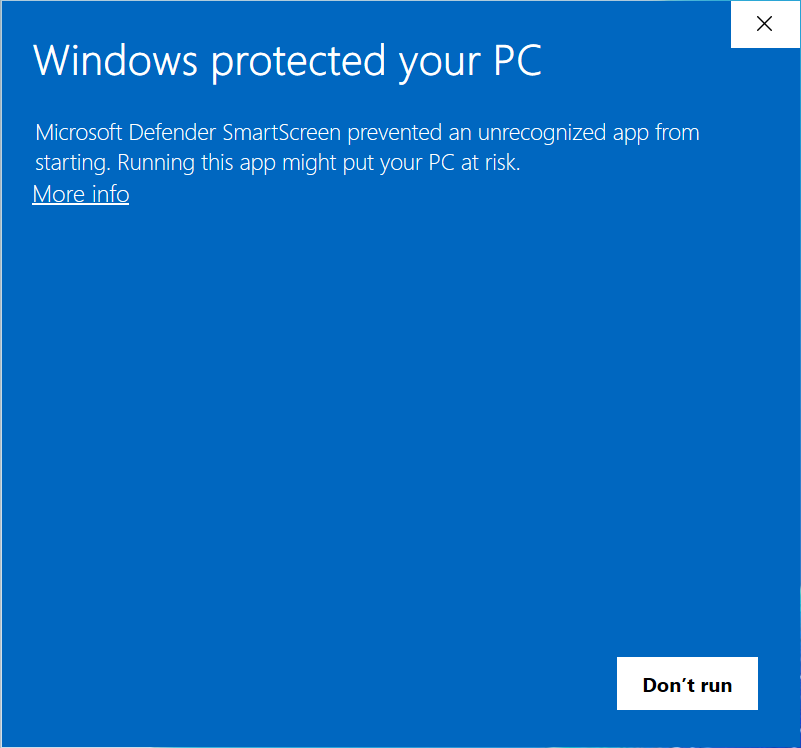
Don’t despair if your computer does this. It’s perfectly safe and you can override nanny Windows by clicking on “More info” to get this.
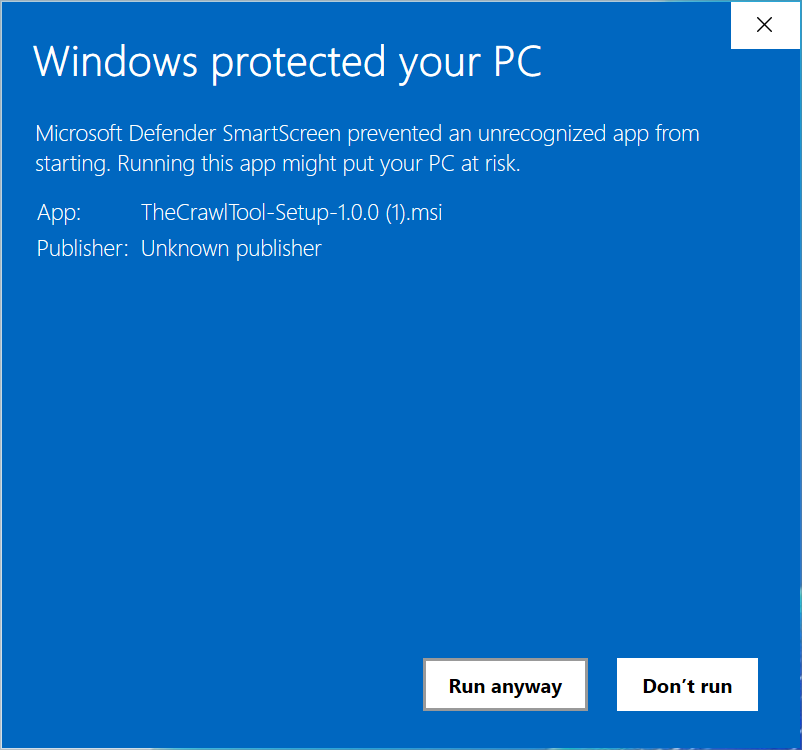
And click Run anyway.
If your computer wasn’t in nanny mode, or you’ve done that then Windows will bless you with an installer window.
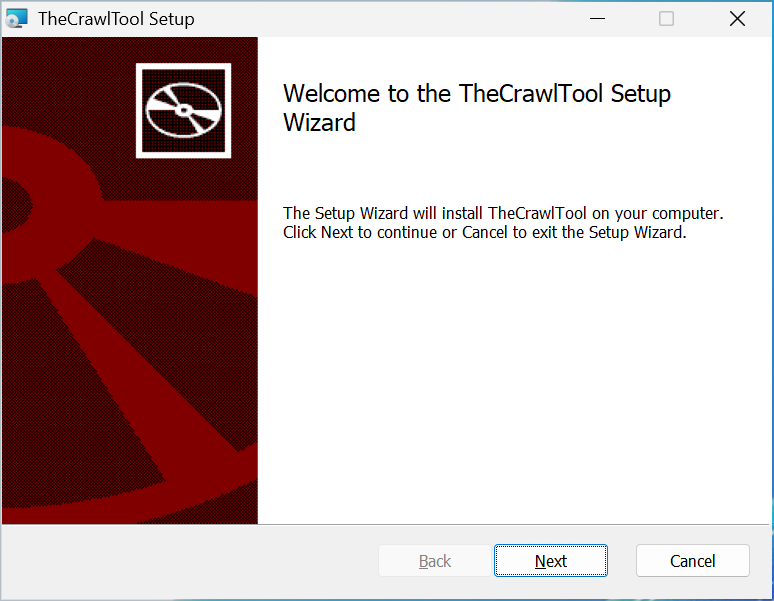
Click Next to begin. The first choice you’re going to need to make is whether you are installing it for just your account or for all users of this machine.

Either is fine. The simplest is the first, default, option. Here I’ve chosen install for all users of this machine in case I want to set up different Windows user accounts later. Clicking Next we get:
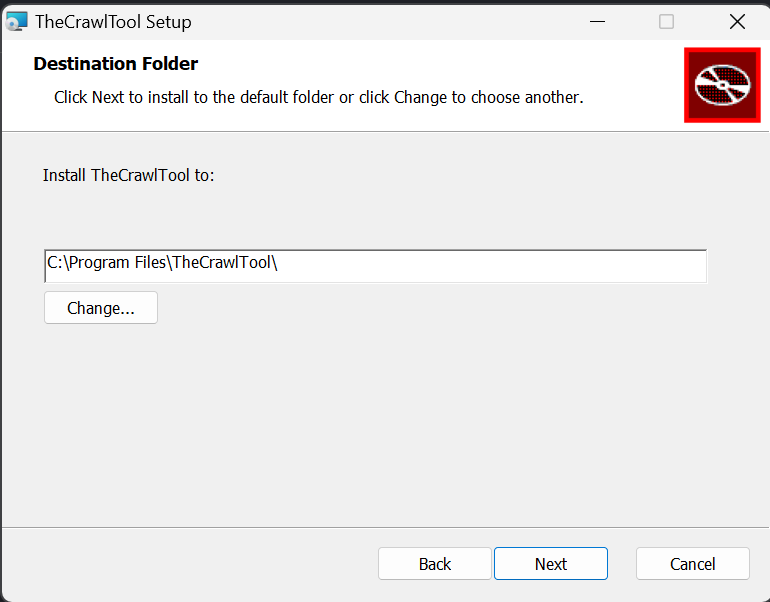
You can change it if you want. Click Next to carry on.
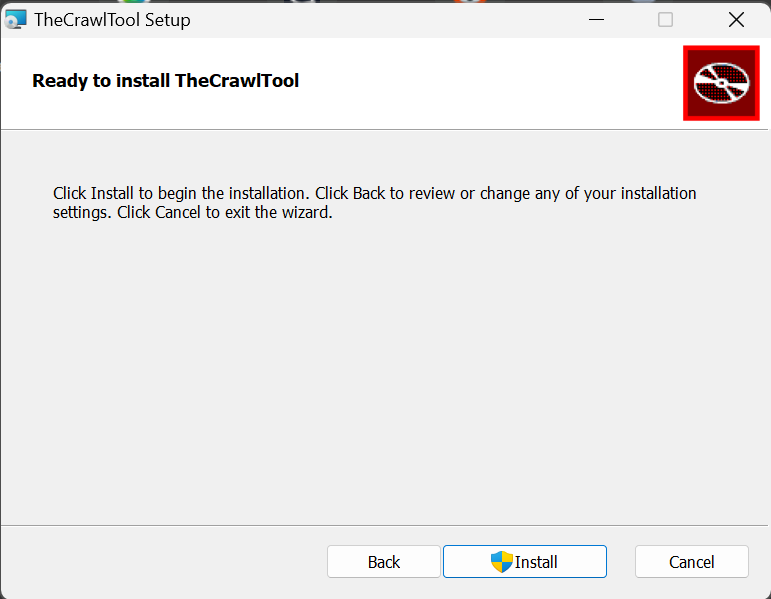
Hurrah! Time to install. Click the install button. If you chose to install for all users of the machine earlier then you will get a User Account Control popup asking you to confirm, click Yes. The install will proceed until you are presented with this screen.
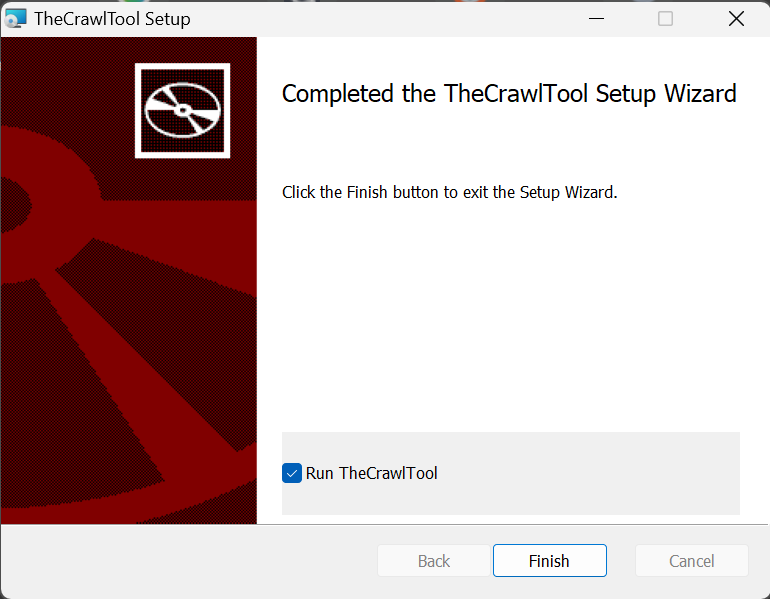
Congratulations. You have upgraded your computer with Agentic website crawling wizardry, or a free employee, depending how you like to describe it. The app has been added to your start menu. But you can leave the Run TheCrawlTool box checked and click Finish to open the app for the first time.
Now you’re all installed – you probably want to move on to:
Setting up Local AI or OpenRouter LLMs Profiles in The Crawl Tool.