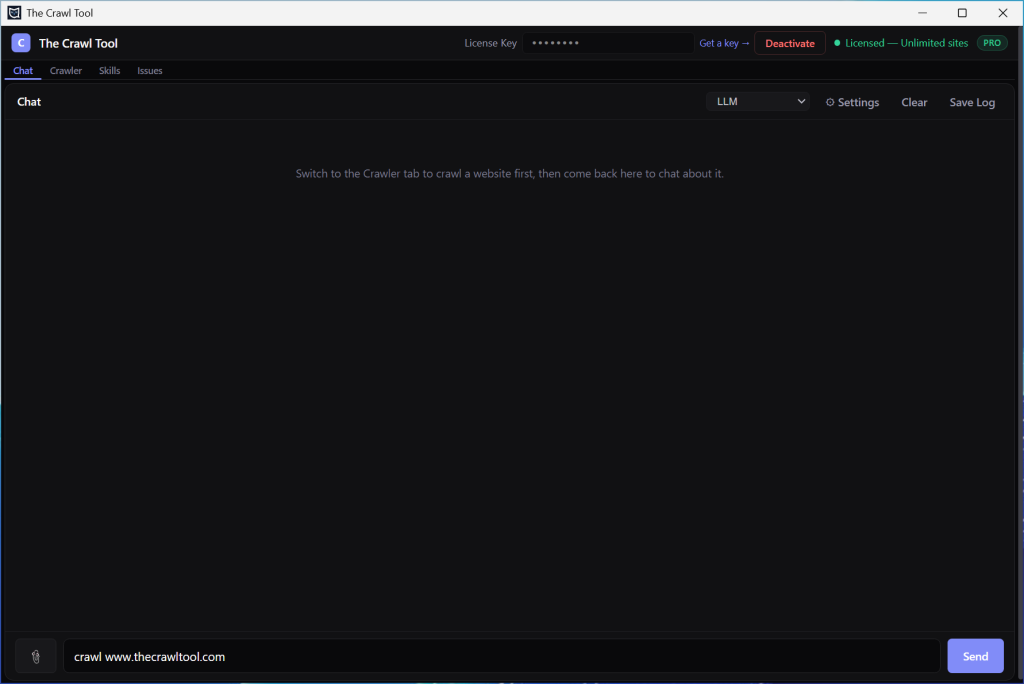
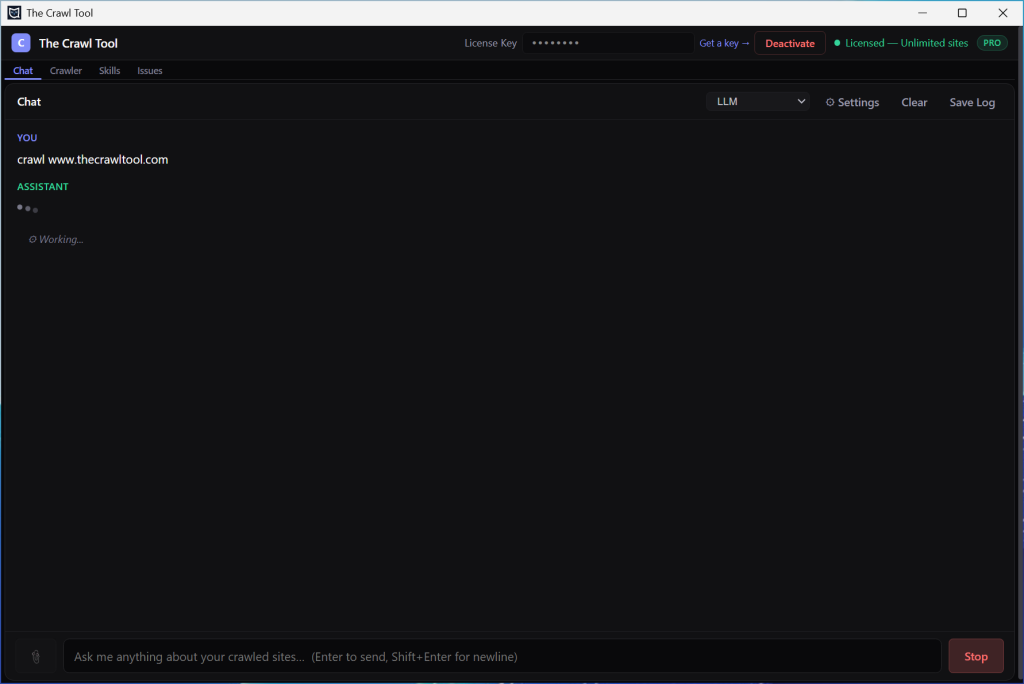
You’ve installed, you’ve connected your AI, tested it works, so you want to crawl your first site. Whilst you can do that from the “Crawler” tab, it should be as easy as telling the AI to “crawl www.yoursite.com” right? And it is…
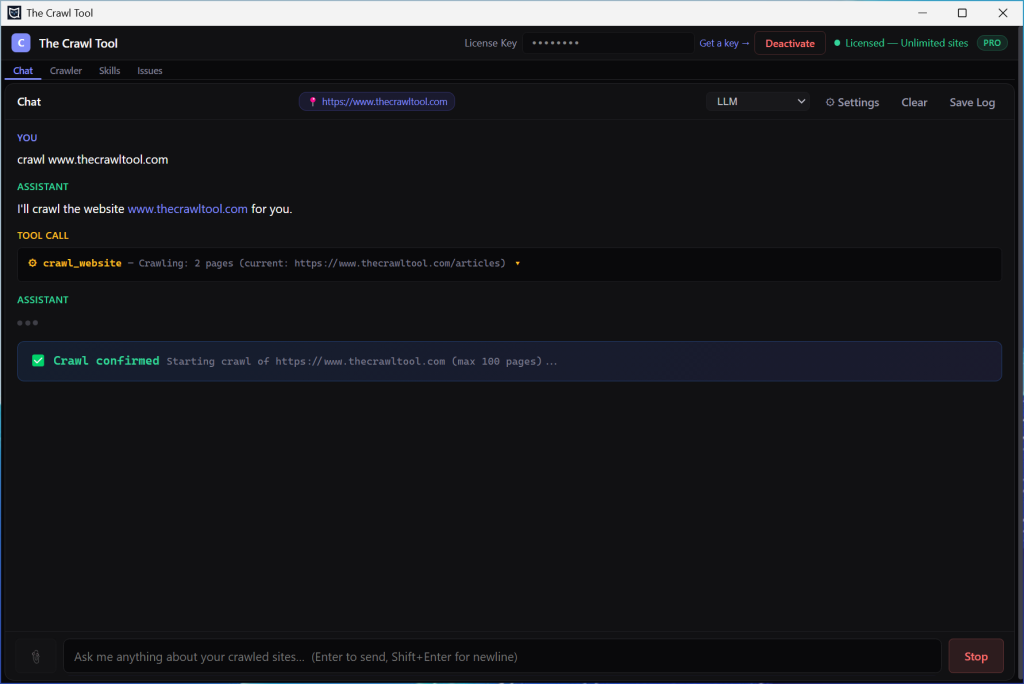
After you kick off the crawl, the crawler will ask you to confirm the URL and the max pages to crawl. AI works best with small sites so the default is set to 100. If you need more increase the figure but try to use an LLM with a bigger context size.
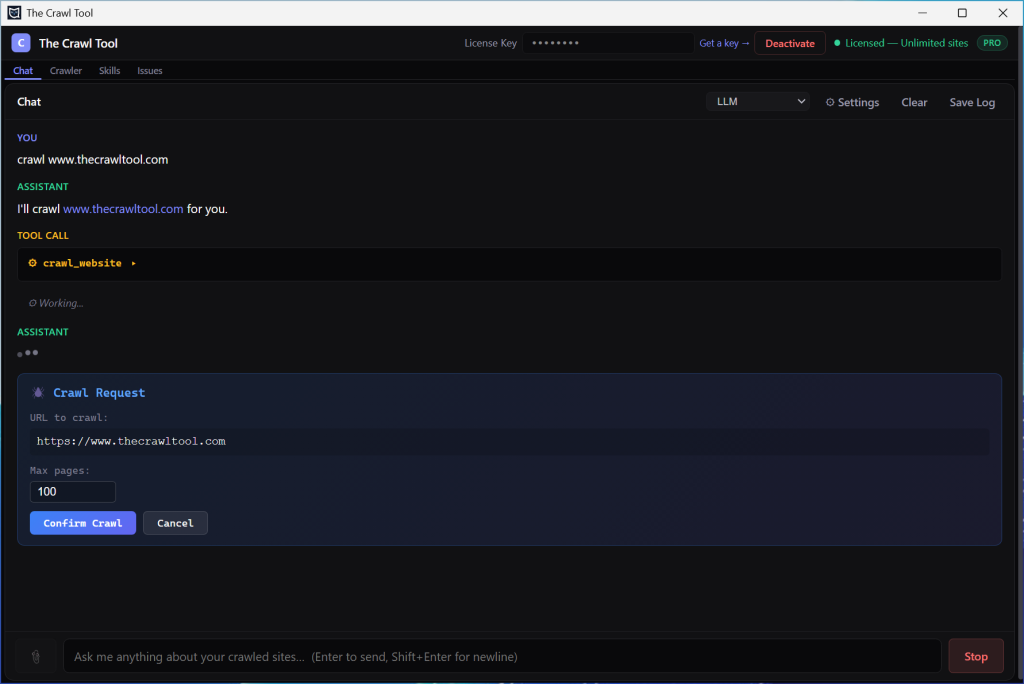
Click confirm crawl and away it goes:
It’ll take a while, but then it’ll tell you when it’s done.
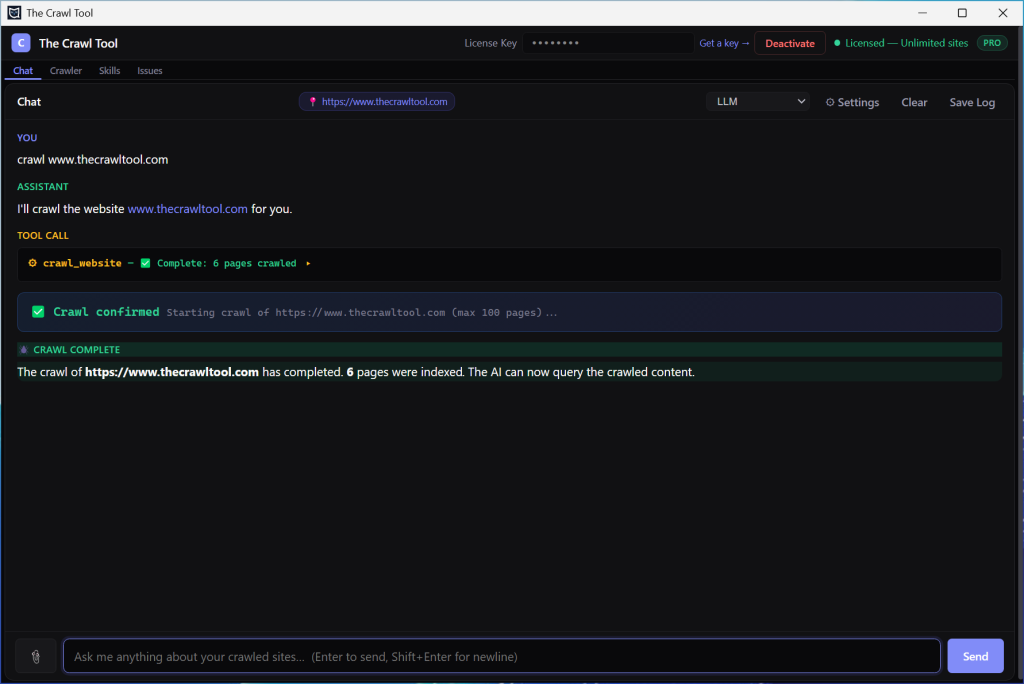
The site is now crawled and indexed locally. Which means the AI can use the tools to work with it efficiently without having to continually fetch the live pages from the web one by one.
You’re ready to ask it questions now!
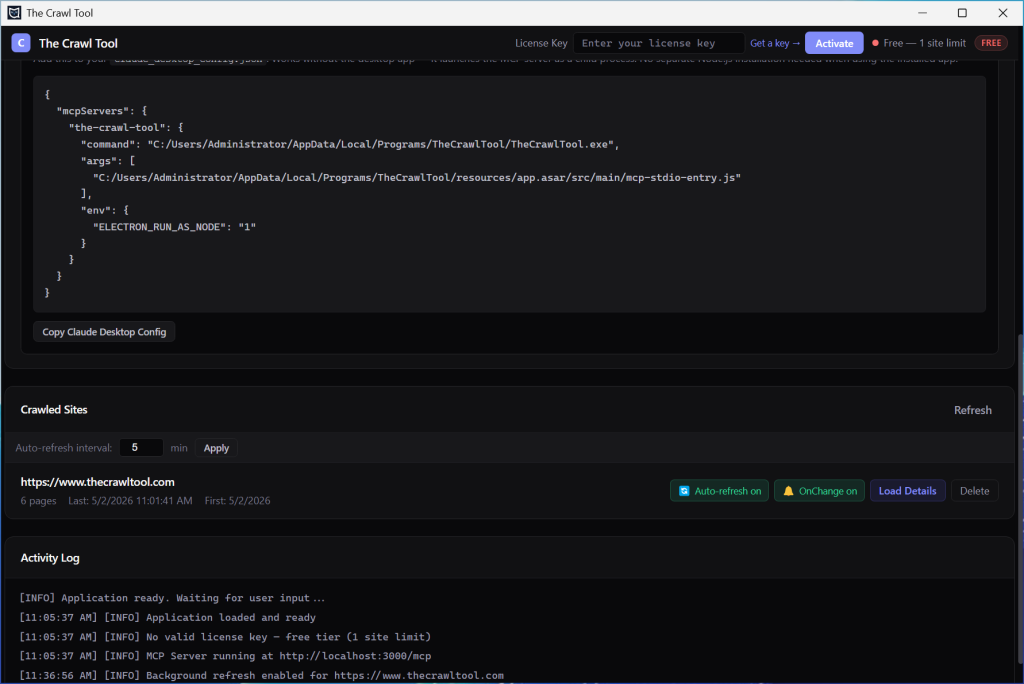
But there’s one thing worth mentioning. The crawl is a snapshot in time. If the website changes, then by default it doesn’t. That may or may not be what you want. There are a couple of features to talk about here if you’re interested in capturing changes. Click on the crawl tab, scroll down, and click the “Refresh” button next to the Crawled Sites list.
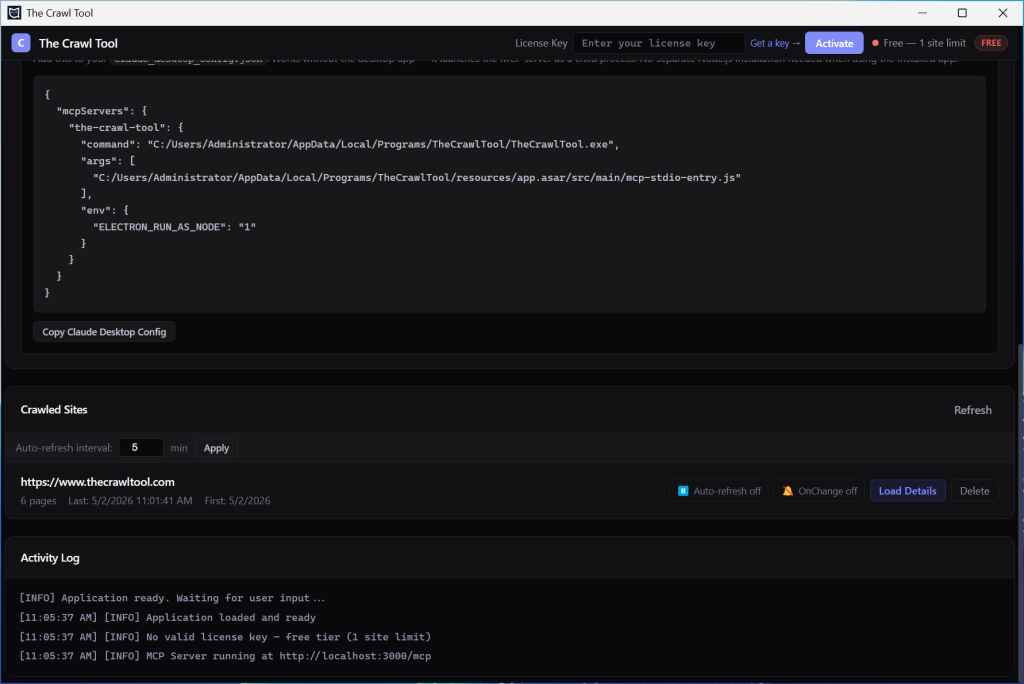
Next to each site there is an Auto-refresh button that defaults to off. At the top of the list is an “Auto-refresh interval” that you can specify in minutes. If you like you can turn Auto-refresh on for a site.
How this works is that while The Crawl Tool app is open then every 5 minutes (or whatever you set) it will pick a random site from those with Auto-refresh on, pick a random page and recrawl it, and pick a random page it links to and crawl that. It’s a slow background refresh of all sites you’ve set Auto-refresh on for that updates them without you having to run the crawl again. This defaults to off because that enables questions like “How has page x changed since it was crawled” which can compare the live page with the crawled one. It’s useful when you’re working on the site a lot. On the other hand, it’s useful to have this on if you’re more in a maintenance mode.
With Auto-refresh on, The Crawl Tool will update the database and index. But that happens behind the scenes. You can query them later but there’s no active analysis of the pages. We’ll discuss skills elsewhere, but in the Skills tab there is an ONCHANGE skill. This allows us to ask the AI to do things if a page is changed or a new page is found during the background refresh. If you toggle “ONCHANGE” to on it will do exactly that – every time it detects a page isn’t exactly the same or is new it will pass it to the AI and ask the AI to run the ONCHANGE skill (which by default picks up and logs issues). That’s amazingly useful but it’s off by default because there’s some important caution you need to apply. If your pages are exactly the same every time this works great. But if you dynamically change page content so it is different every time then you will end up calling the AI every time. Similarly if you make a cross-site change (like a footer change) then you can expect a lot of AI calls until it has caught up. If you’re using something like OpenRouter paid options that matters more to you than if you’re using Local AI or free ones. For most sites this is an amazingly useful thing to have on as the AI can automatically do things on changed or new pages. But the tool leaves that decision up to you to turn it on.
Our example is a WordPress site that is mostly the same every time, so I’ll turn it on.